Thermoplastic road markings are widely adopted in modern traffic management due to their exceptional durability, high visibility, and strong abrasion resistance. Compared to traditional road marking paints, thermoplastic coatings offer extended service life, faster drying times, and superior nighttime reflectivity, making them ideal for highways, urban roads, parking lots, and airport runways.
Proper thermoplastic road marking construction is crucial for ensuring safety, compliance with traffic regulations, and long-term performance. This guide details the complete process for efficiently applying thermoplastic road marking paint using professional road marking machines, including required equipment and key techniques.
Thermoplastic Road Marking Construction Process
1. Preparation and Project Planning
Thorough preparation is essential to prevent compromising construction quality. Developing a detailed construction plan is critical before undertaking any thermoplastic road marking project.
1.1 Material Selection
Select high-quality thermoplastic road marking paint that meets traffic safety standards. Premium thermoplastic materials should possess the following characteristics:
- High Durability: Resistance to abrasion from tire chains and heavy traffic.
- UV Stability: To prevent yellowing and cracking from sun exposure.
- Retroreflectivity: The ability to retain embedded glass beads for nighttime visibility.
1.2 Equipment Inspection
Ensure all equipment is in proper working order before commencing work to enhance marking quality and efficiency.
- Pre-heater/Melters: High-efficiency, double-jacketed kettles with temperature controls (capable of heating material to 180–220°C / 356–428°F).
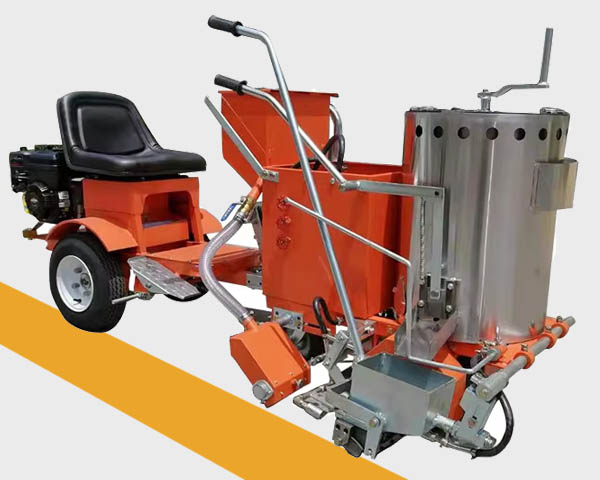
- Application Machines: The specific road marking machine (hand-driven for small jobs, self-propelled for highways) must be calibrated for consistent line width and thickness.
- Support Equipment: Including primer applicators, mechanized bead dispensers, and high-pressure cleaning gear.
1.3 Environmental Requirements
Thermoplastic road marking construction should be carried out under suitable weather conditions. Check the weather forecast. Avoid construction if ambient temperatures fall below 10°C (50°F), or if rain, snow, or high humidity is forecasted. The road surface must be completely dry.
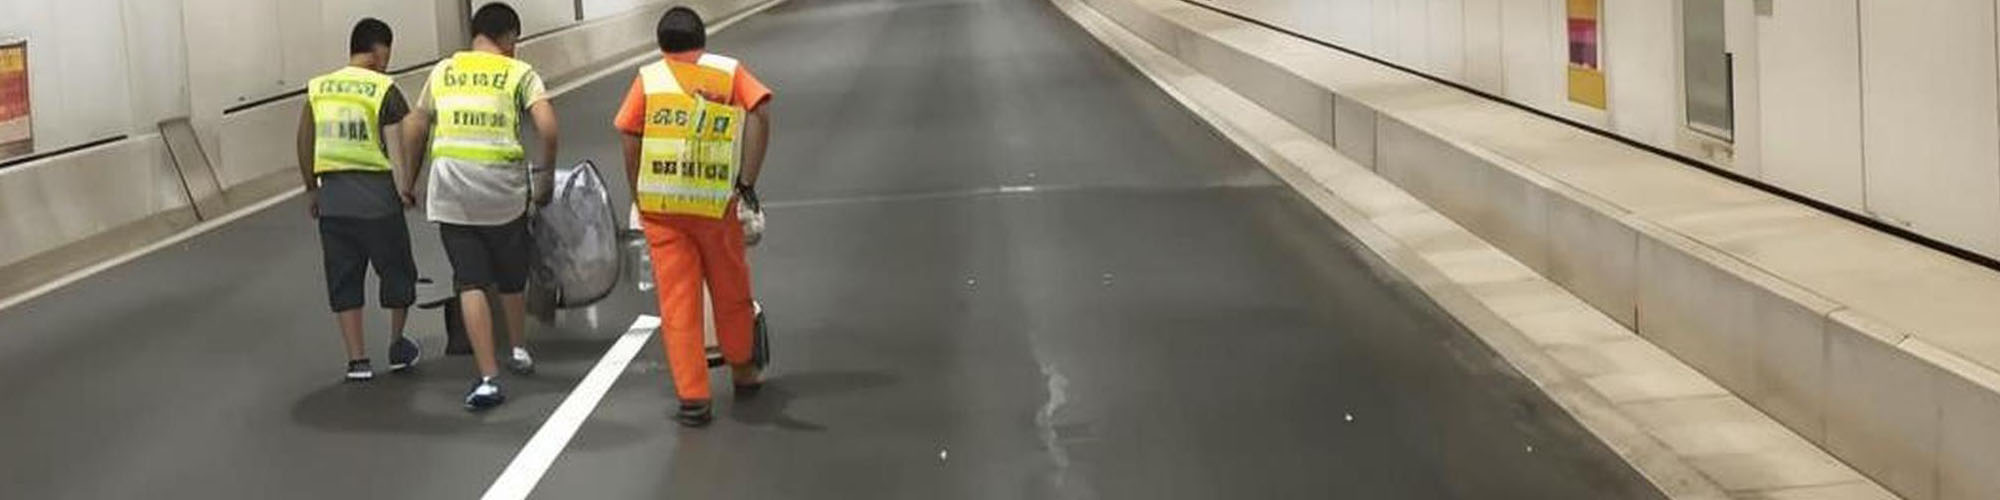
2. Road Surface Preparation
Proper surface preparation is critical to ensuring a strong bond between the road marking paint and the pavement.
Steps include:
- Remove dust, oil stains, loose particles, and debris
- Use high-pressure air blowers or road cleaning machines
- Repair cracks, potholes, or uneven pavement
- Ensure the road surface is clean, dry, and smooth
Effective surface preparation significantly extends the service life of thermoplastic markings.
3. Pre-Marking and Layout
Marking accuracy is vital for traffic flow and safety.
- Surveying: Surveyors determine key point locations using steel tape measures, theodolites, and optical levels according to project design drawings.
- Stringing Lines: Use chalk lines or automated road marking machine guide systems to snap straight, precise lines on the pavement. This establishes the work path for construction crews and ensures lane dividers, crosswalks, arrows, and text markings are perfectly straight.
4. Heating Thermoplastic Materials
This is a critical stage requiring constant attention.
- Melting: Load solid block or granular thermoplastic material into the preheater. Melt it slowly and continuously at the manufacturer’s recommended temperature. Overheating causes discoloration, loss of flexibility, or even combustion, compromising reflective performance.
- Agitation: Continuous stirring is vital. It ensures uniform mixing of resin, pigments, fillers, and glass beads, preventing heavier components from settling at the bottom of the vessel.
5. Applying Primer (Tie Coat)
While the primer (or “tie coat”) can sometimes be omitted on newly laid asphalt surfaces, it is strongly recommended and essential on concrete surfaces.
- Function: The primer seals porous surfaces and creates a chemically sticky layer that dramatically improves the adhesion of the molten thermoplastic.
- Application: Spray or roll the primer strictly within the marked lines. It must be allowed to dry to a tacky state (usually just a few minutes) before the thermoplastic is applied.
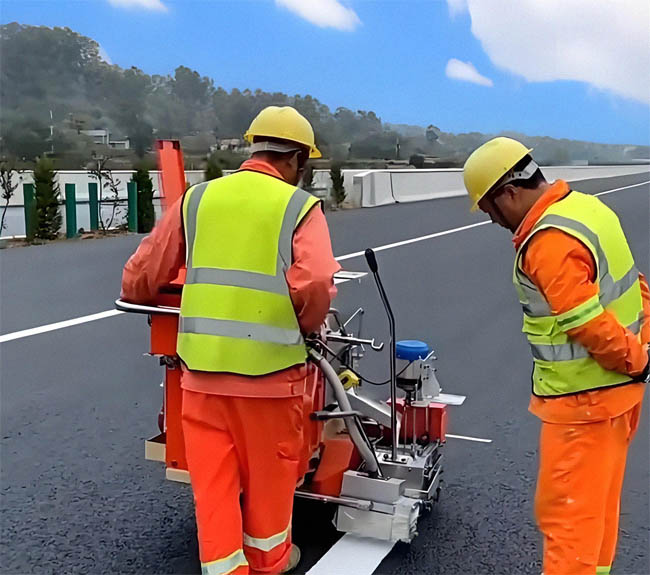
6. Applying Markings Using a Road Marking Machine
This is the core process of thermoplastic road marking construction.
- Loading: Transfer the correctly heated and agitated thermoplastic from the melter into the hopper of the road marking machine.
- Application: The operator guides the machine along pre-marked lines. The machine’s extruder or spray box applies the molten material at a precisely controlled thickness—typically 1.5 mm to 3.0 mm for standard markings, increasing to 4.0 mm for high-traffic areas like crosswalks.
- Glass Bead Application: After the thermoplastic material is applied, a glass bead spreader (often integrated into the marking machine) evenly distributes glass beads across the hot surface. These beads partially embed into the material, creating a retroreflective effect that makes the lines clearly visible under vehicle headlights at night. Some modern thermoplastics also come “pre-mixed” with beads for internal reflection.
7. Curing, Inspection, and Opening to Traffic
- Cooling: Thermoplastic materials are “hot melt” types that cure extremely rapidly upon cooling. Typically, they achieve pedestrian-traffic hardness within 2-3 minutes and withstand vehicle tire pressure within 5-10 minutes, depending on ambient temperature.
- Inspection: Check the new markings for:
- Uniformity: Is the line width and thickness consistent?
- Adhesion: Try to lift an edge with a scraper. It should be firmly bonded.
- Clarity: Are the edges sharp and the color correct?
- Reflectivity: Use a retroreflectometer if available, or perform a visual night test.
- Touch-ups: Minor defects (like small skips) can be fixed by reheating the area with a propane torch and applying new material or smoothing the surface.
Key Tips for High-Quality Road Marking Construction
Maintain Proper Temperature
Temperature control during heating and application is critical. Invest in a high-quality infrared thermometer. Monitoring material temperatures in the heating pot and at the application point prevents brittleness from overcooling or yellowing/slipperiness from overheating.
Choose the Right Equipment
Using professional road marking machines, thermoplastic preheaters, and glass bead spreaders ensures consistent construction quality and boosts productivity.
Primer Matching for Surfaces
Use slow-drying primers on highly absorbent concrete and fast-drying primers on dense asphalt surfaces.
Edge Quality for Symbols
For intricate shapes like arrows or text, apply masking tape. Remove the tape while the material is warm but set to achieve sharp, professional edges.
Apply Under Suitable Weather Conditions
Avoid application during rain or high humidity. Dry weather promotes better adhesion between paint and pavement.
Conclusion
Thermoplastic road marking construction is a highly efficient and durable solution for modern traffic management. By using high-quality road marking paint, professional road marking machines, and proper techniques, crews can create clear, long-lasting, and highly reflective traffic markings that significantly enhance road safety. If you’re seeking reliable thermoplastic road marking materials or road marking equipment, our company specializes in supplying professional road marking machines, thermoplastic paint, and glass bead systems for highway and urban traffic projects.
Contact us today for expert guidance and high-quality road marking solutions.