
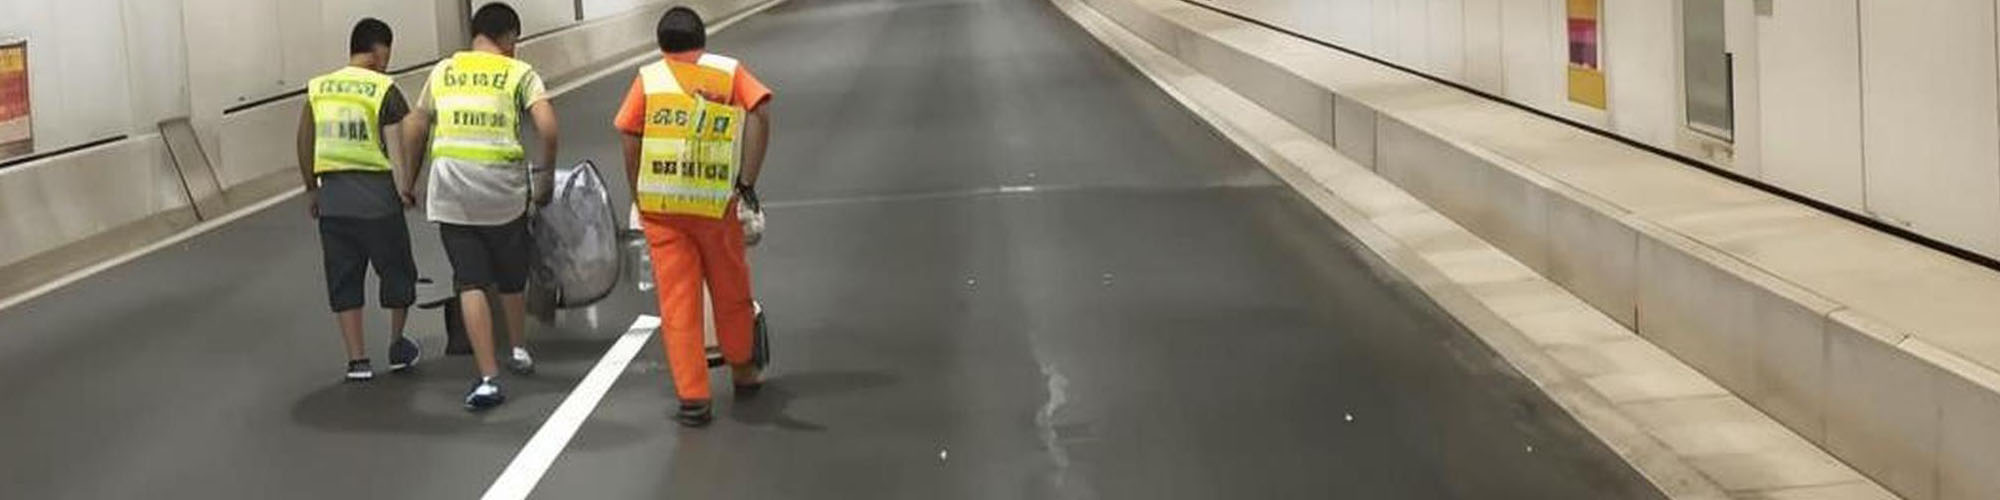
To produce straight, even, and wear-resistant markings with a road marking machine, three core factors must be coordinated: the condition of the substrate, the rheological properties of the material, and the calibration of machine parameters.
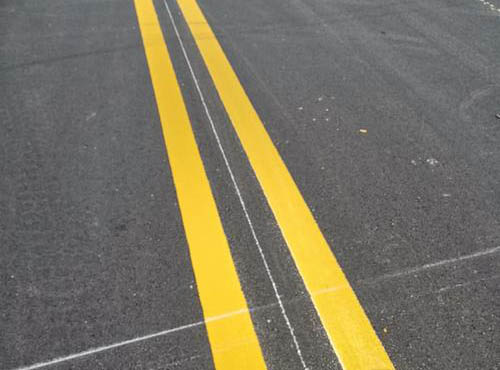
1. Pre-Operation Preparation
Substrate Preparation
- The substrate must be dry, load-bearing (concrete compressive strength ≥ 25 MPa), and free of slurry, oil, or dust.
- Use a sandblaster or diamond grinder to remove surface contaminants and create a micro-texture (Rz ≥ 0.3 mm) to enhance mechanical bonding.
- Blow off debris with an industrial air compressor (≥6 bar) and, for porous asphalt, apply a tack coat / primer (epoxy or acrylic-based) at 0.15–0.20 kg/m². Wait until the primer is no longer tacky to the touch (typically 20–30 minutes at 20°C) before applying the road markings.
Material Conditioning
- Cold-applied paint (water-based/solvent-based): Mechanically stir in a drum for at least 3–5 minutes until uniform (no pigment sedimentation). Filter through a 40-mesh screen before pouring into the road marking machine’s hopper.
- Thermoplastic Materials (Hot-Melt Type): Heat in a thermoplastic melting kettle to 180°C–220°C (strictly monitor using a digital thermocouple). Stir continuously to prevent localized overheating above 230°C, which can cause resin degradation (yellowing and reduced adhesion). Maintain viscosity within the range of 80–100 KU (Kohm) for optimal extrusion results.
Machine Alignment Check
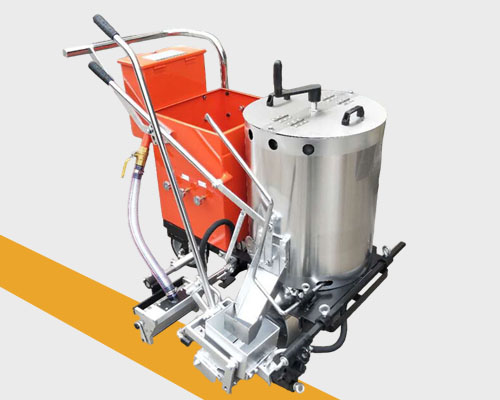
For hand-push or ride-on road marking machines, verify that the front guide wheel, the center of the spray gun nozzle, and the center of the rear wheel are aligned in a straight line (three-point calibration). Misalignment causes “snaking” – a major cause of uneven edge lines.
Nozzle Selection (for airless or air-assisted spraying):
- Porous asphalt → larger orifice (e.g., 0.025″–0.031″) to compensate for absorption.
- Smooth cement/epoxy floors → smaller orifice (e.g., 0.017″–0.021″) to reduce overspray and maintain a sharp edge.
2. In-Process Control for Uniform Thickness & Width
Film Thickness Regulation
- Thickness is governed by the forward speed (m/min) and material pump pressure (bar/psi).
- Cold paint: target 0.6–1.5 mm wet film thickness (WFT). Use a wet-film comb gauge during application.
- Thermoplastic: target 1.5–2.0 mm (after cooling). Thinner than 1.2 mm reduces abrasion resistance (fail ASTM D4060); thicker than 2.5 mm increases cracking risk due to thermal stress.
- Adjust pump pressure (e.g., 150–200 bar for airless systems) proportionally to speed – slower speed = lower pressure to avoid excessive build.
Spray/Fan Pattern Optimization
- Before starting, perform a low-pressure test spray onto cardboard to inspect the fan pattern.
- Adjust the motor RPM (for hydraulic or electric drive) to achieve a symmetrical, oval fan with no tails or heavy center – this ensures even transverse distribution.
- Overlap adjacent passes by 15–20% to eliminate skip lines. Avoid flow rates >2.5 L/min for cold paint to prevent sagging; below 1.2 L/min may cause “holiday” (uncoated spots).
Glass Bead Embedment (Retroreflectivity)
- For thermoplastic, apply glass beads (refractive index ≥1.50) uniformly via the gravity-fed or pressure-fed bead spreader attached to the road marking machine.
- Dosage: 0.3–0.4 kg/m² for standard beads; for wet-night visibility, use larger beads (850–1400 µm) at 0.5 kg/m².
- Critical timing: beads must be dropped within 5–10 seconds after extrusion, while the material is still >100°C, to achieve 50–60% embedment depth – too shallow = premature wear; too deep = poor retroreflection.
Environmental Limits
- Do not apply if substrate temperature <5°C or rising >50°C (surface thermometer reading) – cold reduces adhesion, heat causes solvent flash-off or blistering.
- Relative humidity must be <85% and dew point at least 3°C below surface temperature to prevent moisture condensation, which interferes with cross-linking in cold-paint systems.
3. Key Maintenance and Common Issues
- Never over-thin cold paint (e.g., with xylene or water) to save material, as this reduces the pigment-to-binder ratio, resulting in tensile strength below 1.2 MPa and causing premature chalking or peeling within 6 months.
- Daily cleaning routine: flush the pump, hoses, and gun with the appropriate thinner (or hot water for water-based) immediately after each shift. Residual paint will harden and clog the piston or nozzle, causing pressure fluctuations and resulting in streaking defects during the next application.
- Calibration Schedule: Check the speed and pressure sensors weekly; deviations exceeding 5% will directly affect paint film thickness and longitudinal uniformity.
By mastering these machine settings, the fundamentals of materials science, and environmental checks, your road marking machine will be able to apply durable, high-visibility markings that comply with EN 1436 or ASTM D713 standards, while significantly reducing rework costs. Be sure to maintain a maintenance log of nozzle replacements, pump seals, and bead flow rates to ensure quality consistency across projects.